Hand Grinder Upgrade Guide: Moving Beyond Blade Grinders
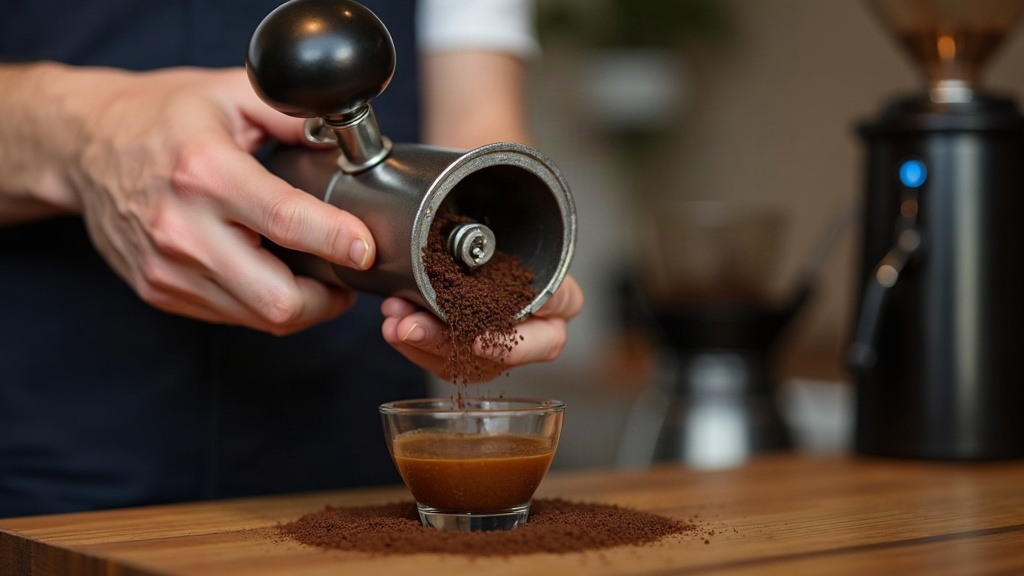
If your morning coffee tastes different every single time even though you’re measuring everything carefully, the beans aren’t the problem. Your grinder is. Blade grinders hack coffee into a chaotic mix of dust and chunks, and that mess will make even a $20/bag specialty bean taste muddy or sour. This guide walks through what actually changes when you switch to a manual burr grinder, which features are worth paying for, and how to land on the right hand grinder for your brew method and your wallet.
Why Blade Grinders Hold You Back
Picture a tiny propeller inside a jar. That’s basically what a blade grinder is: spinning blades that hack beans apart with zero control over the result. You end up with a jumble of particle sizes in one batch, some almost powder-fine, others still chunky. Brew that mix and you get two problems at once: the fine dust over-extracts and turns bitter, while the big chunks under-extract and taste sour and thin. Same cup, two competing flaws.
Burr grinders fix this by crushing beans between two abrasive surfaces held at a fixed, adjustable gap. The particles come out close to uniform. That consistency, more than anything else, is what separates a café-quality pour-over from a flat homebrew. It matters more than your kettle, more than your water, arguably more than the beans themselves.
What to Look for in a Hand Grinder
Burr Type: Conical vs. Flat
Most hand grinders rely on conical steel burrs. They’re quieter, they run cooler, and they handle a broad range of grind sizes without fuss. Flat burr hand grinders do exist, but they’re harder to find and tend to cost more. If you’re just starting out, conical steel is the safer bet and the more forgiving one.
Grind Range
Be honest with yourself about what you’ll actually brew on a Tuesday morning before work:
- Pour-over and drip only: look at grinders built for medium-coarse ranges, think Hario or Kinto-style models.
- Espresso and filter: you’ll need a wide-range grinder with fine micro-adjustment, either stepless or with a high step count. The 1Zpresso JX series and the Timemore 078 both fit here.
- Everything, including French press and cold brew: go for a grinder with a wide adjustment collar and a bigger burr, 38mm or larger.
Step Adjustment: Stepped vs. Stepless
- Stepped grinders click into fixed positions. Easy to dial back to a setting you liked last week. Great for beginners.
- Stepless grinders adjust continuously. More precision, especially for espresso, but expect some trial and error before you land on “your” setting.
If this is your first time leaving blade grinding behind, a stepped grinder with 40+ click positions (the Timemore C2 or 1Zpresso JX-Pro both qualify) gets you real precision without the fumbling that comes with stepless adjustment.
Burr Size
Bigger burrs (38-48mm) chew through beans faster and build up less heat, which actually matters if you’re grinding two or three cups’ worth, or pulling espresso every morning. Smaller burrs (25-30mm) work fine for a single cup of pour-over, but they’ll start to feel painfully slow once you’re grinding for more than one person.
Build Quality and Grip
You’re the motor here, so comfort isn’t a nice-to-have. Check for:
- A non-slip, textured handle grip
- A base with enough weight or width to stay put on the counter
- Smooth bearing action (cheap units feel gritty or wobble halfway through the grind, and you’ll notice it every single morning)
Top Hand Grinder Recommendations by Budget
- Budget (under $50): Timemore C2, reliable stepped adjustment, a solid entry point for pour-over beginners.
- Mid-range ($60-$100): 1Zpresso JX-Pro, stepless precision that handles both espresso and filter coffee well.
- Premium ($120+): Comandante C40, hand-finished burrs and consistency good enough that specialty café staff carry one for travel.
How Much Difference Will You Actually Taste?
Less bitterness, a cleaner finish, and flavor notes (the fruitiness, the acidity, the sweetness) you probably assumed your beans just didn’t have. They were there the whole time, buried under uneven extraction. Plenty of home baristas will tell you that swapping a blade grinder for even a cheap entry-level burr grinder changed their coffee more than a new brewer or a pricier bag of beans ever did.
Grinding Tips After You Upgrade
- Start with the manufacturer’s recommended setting for your brew method, then nudge it one click at a time from there.
- Grind right before you brew. Pre-ground coffee starts losing aroma within 15 to 30 minutes, so grinding ahead defeats the purpose of upgrading.
- Clean the burrs once a month with a small brush to clear out oil buildup, especially if dark roasts are your thing.
- Weigh your dose. Eyeballing a scoop introduces as much inconsistency as a bad grind does, so a cheap kitchen scale earns its keep here.
Conclusion
Swapping a blade grinder for a manual burr grinder is one of the few upgrades in home coffee that actually delivers on the hype. Pay attention to burr type, pick a grind range that matches how you actually brew, and decide between stepped and stepless based on how much fiddling you’re willing to do. You’ll taste the difference within the first week, probably the first cup. New to manual grinding? Start with a stepped conical burr grinder. Once you know the settings you reach for again and again, that’s when stepless precision starts to pay off.