How to Clean a Coffee Grinder After Switching From Flavored Beans
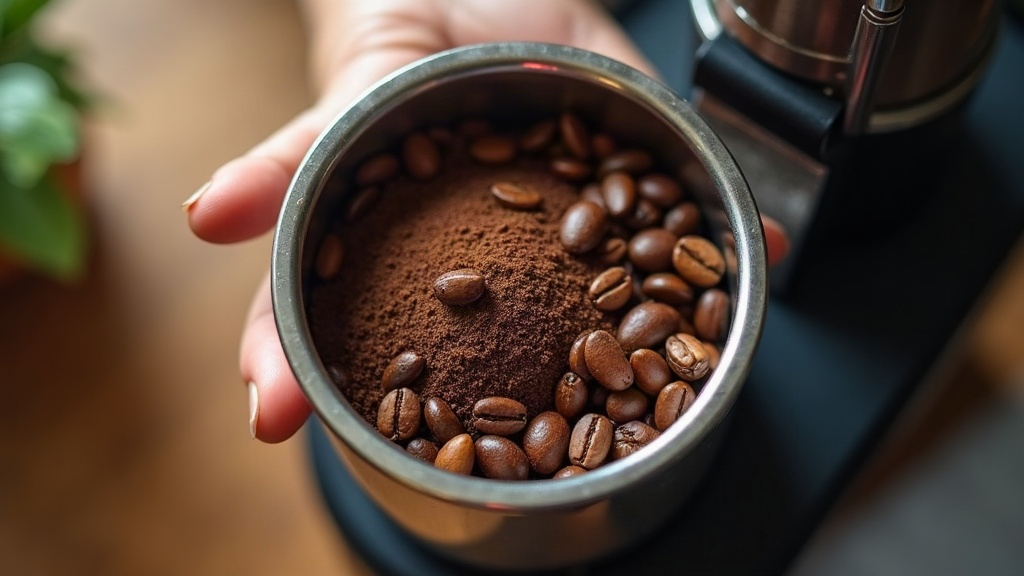
If you’ve just leveled up from flavored beans to single-origin specialty coffee, you’ve probably run into the same wall everyone else hits: your grinder still smells like hazelnut or vanilla, no matter how good the new beans are. Flavored beans come coated in an oily flavoring compound, and that stuff clings to burrs, chutes, and hoppers like it owns the place. Until you clean it out properly, every cup you grind is going to carry a ghost of that old flavor. Here’s how to actually get rid of it.
Why Flavored Bean Residue Is So Hard to Remove
Flavored beans aren’t just roasted coffee with a nice smell baked in. They’re sprayed, after roasting, with a thin oil-based flavoring layer. That coating causes problems for a few reasons:
- It’s sticky and oily, so it grabs onto metal and plastic surfaces and doesn’t let go easily
- It’s aromatic, meaning even a few leftover particles carry a disproportionately strong scent and taste
- It’s heat-sensitive, so the friction and warmth of grinding can smear it deeper into the mechanism instead of just sitting on top
Natural oils from a dark roast specialty bean are one thing. Flavoring oils are a different animal entirely, often synthetic or made from concentrated extracts built to be potent. That’s exactly why a handful of stray particles can wreck the clean, nuanced profile of a $20 bag of specialty coffee you were looking forward to tasting properly.
Step 1: Disassemble What You Can
Unplug the grinder first. Always. Then pull apart everything the manufacturer allows:
- Hopper (bean container)
- Upper and lower burrs (if your model permits burr removal)
- Catch bin or portafilter holder
- Chute or spout cover
Check the manual before you force anything. Some burr grinders, plenty of Baratza and Breville models included, are built for tool-free burr removal. That one design detail turns a frustrating cleaning job into a five-minute task.
Step 2: Run a Grinder Cleaning Product
The quickest way to lift that oily film is to run an actual cleaning product through the grinder. Options include:
- Grindz or similar uncooked-rice-based cleaning tablets
- Plain uncooked white rice (a cheaper fallback, though it’s noticeably weaker against oil)
- A “chaser” batch of stale, low-oil coffee beans
Run roughly 1 ounce of cleaning tablets on a medium-coarse setting, then follow it with a batch of cheap, plain beans to flush out the tablet dust left behind. Both batches go in the trash, not your cup.
Step 3: Brush Out the Burrs and Chute
Once the cleaning agent has done its pass, take the grinder apart again. Grab a stiff-bristled grinder brush, not a soft toothbrush, that won’t cut it here, and scrub:
- Between burr teeth
- Inside the grind chute
- Around the adjustment collar
- Under the hopper seat
Corners and seams deserve extra attention. Flavored bean oil has a real talent for settling into grooves that normal grinding never touches.
Step 4: Wipe Down With Isopropyl Alcohol
For whatever oil film is still hanging on, dampen a microfiber cloth or cotton swab with 90%+ isopropyl alcohol and work over:
- The hopper interior
- Burr surfaces (let them dry completely before putting anything back together)
- The catch bin and chute walls
One caution: don’t let alcohol sit on rubber gaskets or seals for long stretches, it dries them out over time. A quick wipe is harmless; soaking is not.
Step 5: Grind a “Sacrifice” Batch of Cheap Beans
Even after all that, grind one more round of cheap, plain beans before you touch your first specialty cup. Think of it as a flavor buffer, there to mop up any trace residue the earlier steps missed. Toss this batch too.
How Often Should You Clean After Flavored Beans?
Switching permanently to specialty coffee? One thorough deep clean, as outlined above, should cover you. But if you’re going back and forth between flavored and specialty beans, the math changes:
- Deep clean every single time you switch bean types
- If you drink flavored beans often, consider a dedicated grinder just for them, it sidesteps the cross-contamination problem entirely
- Wipe the hopper and chute weekly if flavored beans are in regular rotation
Signs You Still Have Residue
- Your specialty coffee tastes a little too sweet, or oddly artificial
- There’s a lingering scent sitting in the hopper
- You can see oily residue or caked grounds tucked into the chute corners
Notice any of this? Run the cleaning tablets and alcohol wipe-down again. Don’t wait for a third red flag.
Conclusion
Moving from flavored beans to specialty coffee is a smart call for anyone chasing real flavor, but it only works if the grinder is actually clean first. Cleaning tablets, mechanical brushing, an alcohol wipe-down, and a sacrificial grind batch together will knock out the lingering oils and flavoring compounds, so the true character of your specialty beans finally gets to show up in the cup the way it’s supposed to.